| T-Molding and Coin Door | |
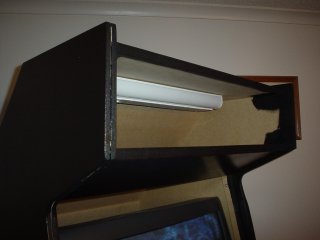 |
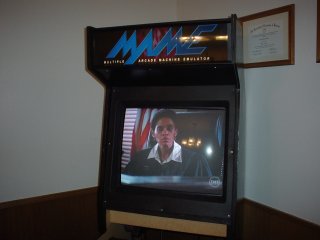
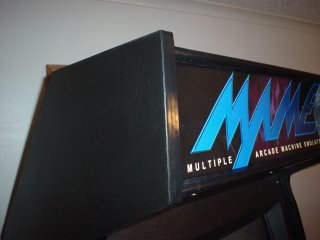
Time to put the marquee back on! |
| AHHH... that's better. The black marquee holder from Happ looks WONDERFUL. |
 |
 |
I think that's enough work until in the morning... ok, ok, it's 4AM right now, and I WANT to work some more,
but my next step is to put on the t-molding (first time it will be on and first time for me doing it) and I'm afraid the
rubber mallet will wake up the wife and kids. Yes, I did try before giving up and the bangs kept reverberating inside
the cabinet. Also get to Rust-O-Leum the coin door tomorrow and install that as soon as it dries. |
| Adding the t-molding wasn't as fun as I thought it would be. The paint got inside some of the slots and it
kept "gumming up." I had to take a flathead screwdriver and scrap the paint out of the slots. Tedious work, but from
the picture, I hope you agree it was worth it. |
 |
 |
More t-molding. I think next time I might tape over the slot before I paint so it's not as difficult to apply the
molding. I think there was still some MDF sawdust in the slot too and that probably made things harder too. |
| I bought some sticker remover from Wal-Mart last night and removed one decal from inside the door and removed
some sticker residue that was on the outside of the door. In a perfect world, I would probably use paint stripper to remove
all of the paint before I re-painted. But to be honest, I'm not that "handy" and I don't own any paint stripper. I didn't
want to go buy any either because I'm afraid my two small children might get into it. So I elected (for better or worse)
to just put a couple of light coats of black Rust-O-Leum on it. This is a shot of the first coat on the back of the door
and around the frame. |
 |
 |
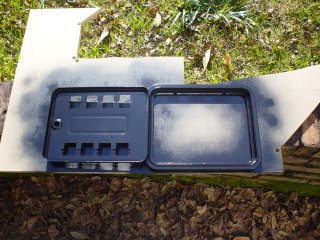
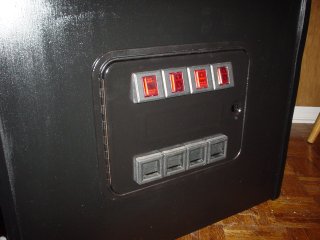
After about two hours outside in the sun (although it's about 34 degrees outside, the first coat of paint
was dry. I went ahead and stood the door on it's bottom and put a coat on the front and put a second coat on the back.
It's amazing what even a small coat of paint will do to a coin door that is who knows how old. |
| This is the coin door now. |
 |
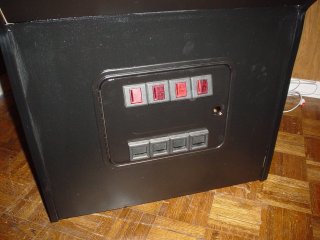 |
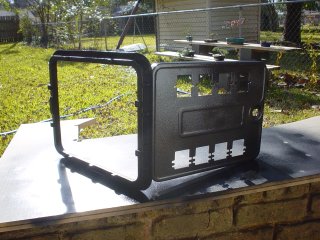
The plastic parts on the coin door look a little "less black" than the metal parts, but I don't want to paint them. |
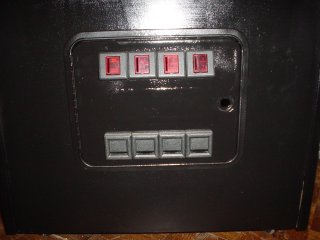
| The flash shows it a little more gray than it really is. In the shadow of the control panel, I don't think anyone
will notice. |
 |
 |
I'm still pretty happy about the way it turned out. Makes me wonder what the history of this coin door is... hmmm. |
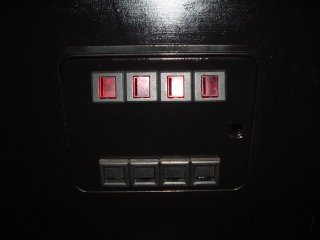
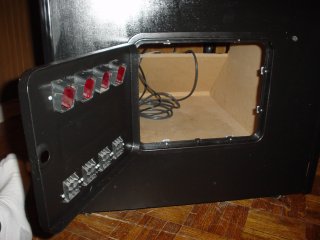
| I left the mechs off, and jammed the coin reject buttons in the chutes until I can replace them. Might go ahead and
spend the few extra dollars and replace the plastic pieces someday. All in all, probably should have just bought a whole new coin
door, but it was pretty fun restoring this one. |
 |