| Finishing Touches | |
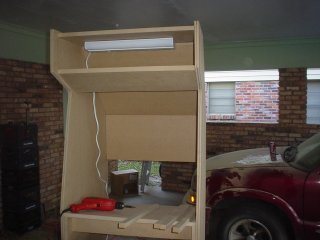
| Okay, I just HAD to do it, ok? I was careful to buy a light with a toggle switch and not a pushbutton type so
if I put some type of on/off switch on the cabinet, it will come on each time. |
 |
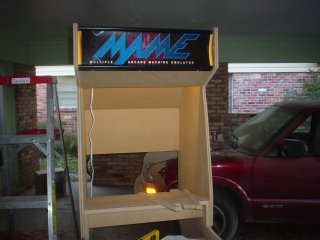 |
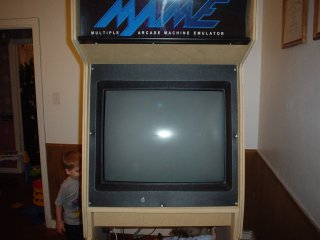
Onji was nice enough to give me a marquee that he had left over from his build. It's not quite wide enough,
so I've gotta figure out some way to get rid of the space on the sides. |
| Dust on the lens =) |
 |
 |
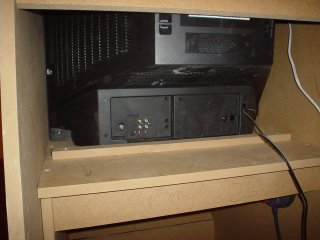
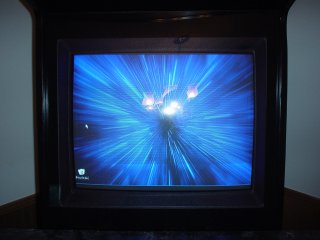
I couldn't take it anymore. All of the drilling is done, so I thought I'd take it inside and make sure the TV
fit =) I'm regretting it now because I'm going to have to take the TV back out and take the cabinet outside to do the putty
and therefore more sanding. |
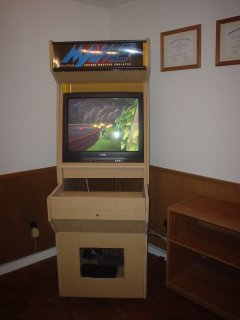
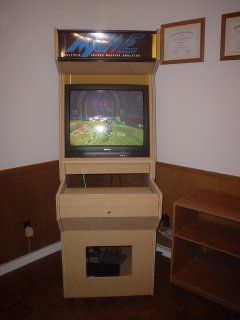
| This is the final shot of my cabinet at the end of day 2. I went ahead and put my ADSL router and WAP inside the
back and will mount them and a surge strip later. |
 |
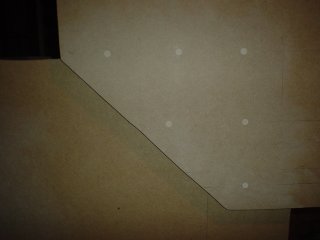 |
These are what all of the countersunk drill holes look like after filling them with wood putty and sanding them. |
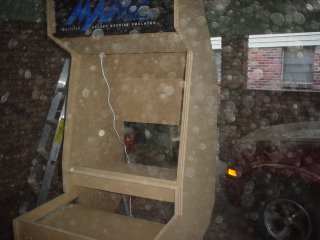
| This is the bezel after cutting it to size and screwing it in. |
 |
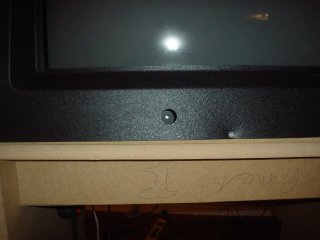 |
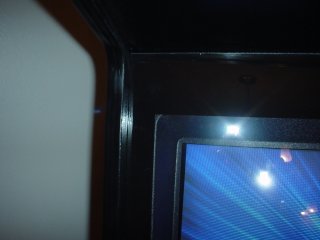
I cut a hole for the remote sensor. A must since the buttons on the front of the TV are covered! |
| After installing the TV and the bezel, I scooted the TV as far to the front as I could, touching the bezel, then
screwed a small, thin, piece of scrap wood along the base to keep it from moving around. |
 |
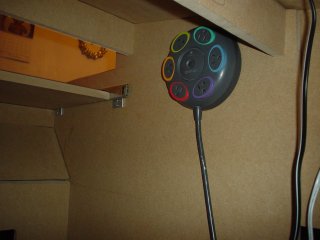 |
This is the surge protector I decided to mount in the cabinet. It's colorful (although no one will ever see it)
and the cord is like 20 feet long! Great for just running it out of the cabinet into a socket. |
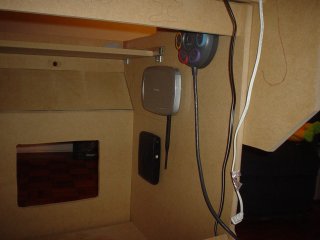
| Since my gear has to be *somewhere*, I decided to mount my wireless access point and my ADSL router inside the
cabinet to conserve space in my office area. I'll be running a piece of CAT5 straight to the PC I will be putting in the cabinet,
and I'm considering mounting a jack to the side of the cabinet for RJ45 and RJ11... just so I don't have more cables than I need
running out of the back of the cabinet. |
 |
 |
I got my Lexan/Lucite/Plexiglas today (people really should standardize names) and I have a really funny story
behind it. There is a brand new Lowe's about a mile from my house and I decided to go check it out and to get the Lexan. Well,
one guy there knew that Lucite is Lowe's name for Lexan. So he went to find someone that is "certified" to cut glass.
About 5 minutes later, EIGHT people show up to "learn" how to cut glass. Teaching everyone? A 20-something girl!! The really
sad part was that no one there could measure the Lucite right, so they cut the wrong size a few times. MEASURE AT THE STORE!
I wound up measuring it myself and drawing the marks on the Lucite for them and then letting them cut it. |
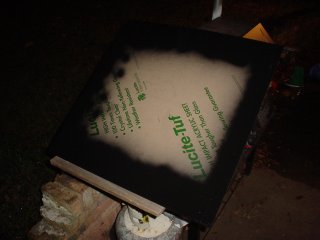
| I wasn't sure how well this was gonna work out, but I knew that I wanted part of my Lucite black to cover the edges
of the monitor bezel, so I had the idea of cutting the protective covering away from the Lucite in the measurements where the bezel
goes flat. I then spray painted the side I cut (make sure you leave the protecive covering on the front side so you don't get
paint on it. I used the Rust-O-Leum that I used on the coin door. Worked out well. |
 |
 |
Kinda hard to tell in the picture, but it looks smooth. Best of all you can't see the screws holding the bezel
to the cabinet. I have the Lucite held in by 1/8 mirror holders (like in a bathroom) behind where the control panel sits. The
slant of the cabinet holds the top in place and allows for easy removal. |