| Cutting | |
 |
We decided to cut one of the top sides of the cabinet first. We used a jigsaw becuase we didn't have a table
saw and I still regret that decision. If you DO have to use a jigsaw, then use another piece of wood beside the guide to keep the
cut straight. I didn't figure this out until the day after we were finished cutting. To make matters worse, the jigsaw we used
has the capability of turning the blade to any angle, but we didn't have it locked down for about the first 20 cuts. What can
I say, I'm a network engineer, not a freaking carpenter. |
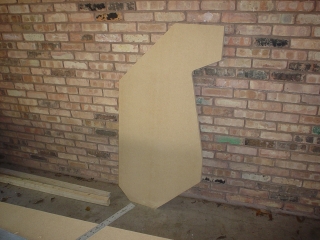
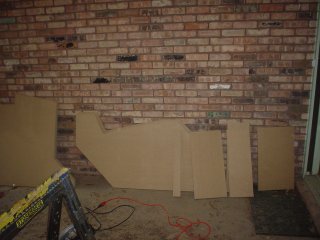
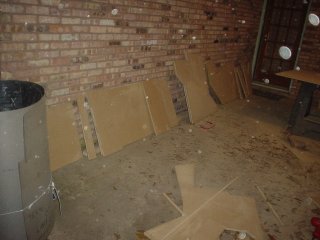
| This is the first piece of wood we cut. I, for one, was SO excited. The straight pieces should have been cut with a
SkilSaw or table saw, but the rounded corner can't help to be cut with a jigsaw. |
 |
 |
This is a test that we cut just to try the turning of the blades before cutting the real thing. |
| At this point, we're not really concerned about what we're cutting, just that we are following the plans and
measuring 300 times before we do. |
 |
 |
We're on our second piece of MDF now... |
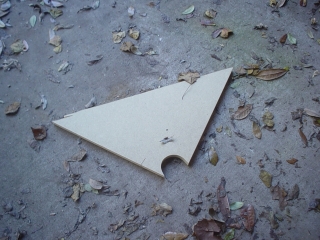
| We couldn't decide if the scrap looks more like Texas, or Idaho. |
 |
 |
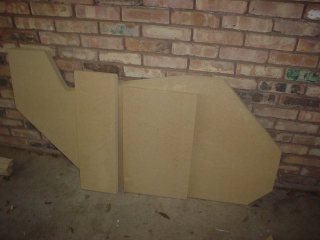
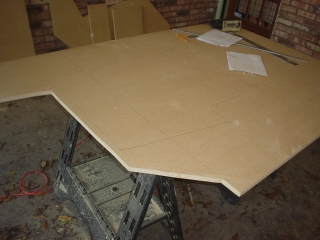
This is the bottom side of the cabinet. The was much easier that the top side of the cabinet due to it not
having that stupid curve. |
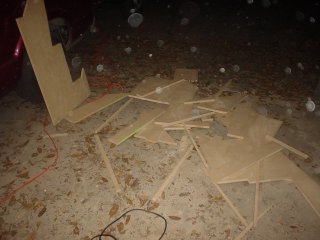
| The MDF keeps getting smaller and smaller and turning into... |
 |
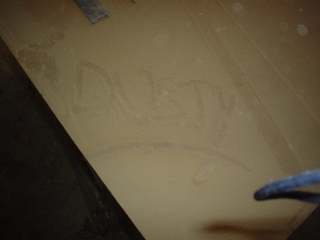 |
DUST! There is now a layer of sawdust on everything for a square mile around my house. |
| Progress is better than we could have hoped for... |
 |
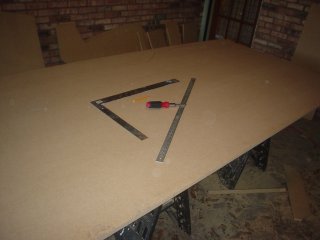 |
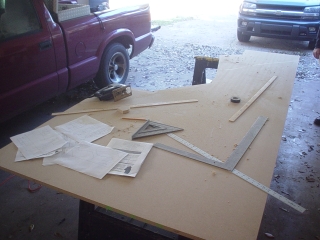
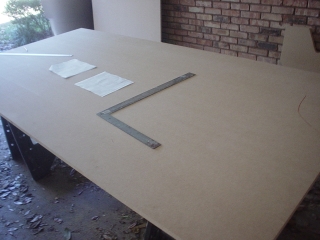
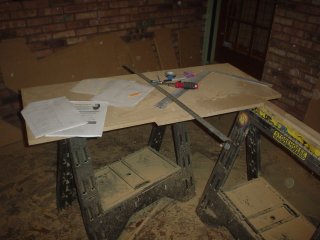
A yard stick (mine happens to be metal and worked great) and a T-square were invaluble |
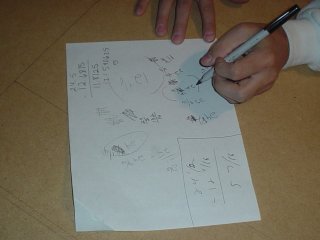
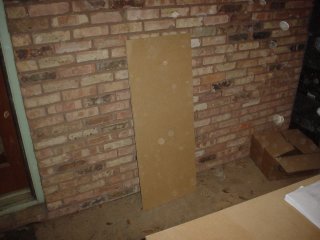
| Trying to figure out the exact measurement for cutting the hole for a coin door that I have yet to buy. We must
have spent half an hour on this. Decimal to fraction conversion is HARD! |
 |
 |
More pieces... |
| I get a little more excited every piece we make =) |
 |
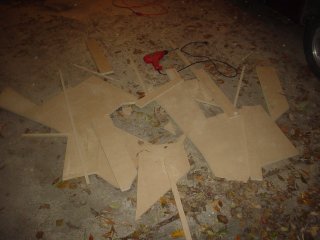 |
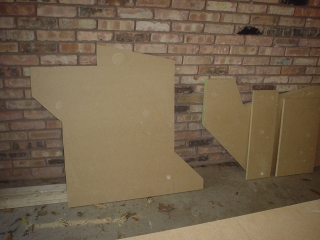
The scraps of MDF are starting to pile up |
| This might wind up as the top of my control panel... haven't decided on a design yet |
 |
 |
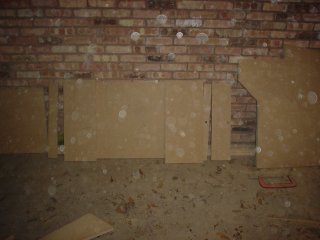
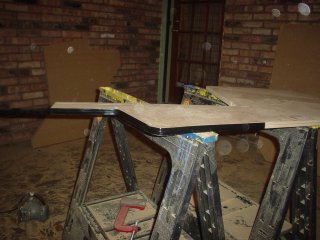
The piece on the right is the front that will hold the coin door. We finally got past the calculation fiasco. |
| Is that Idaho over there? |
 |
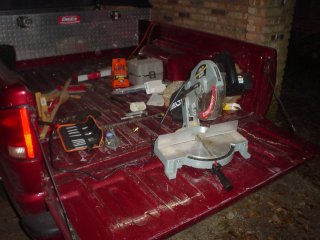 |
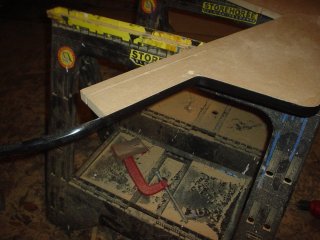
We didn't use the miter saw as much as I would have thought, but it did come in handy when we did need it. |
| Due to my lack of workbenches, we used the wood we were working on as the workspace. Quite a pain once its all
cut away! |
 |
 |
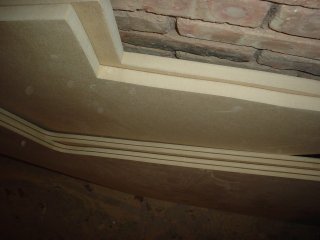
We t-molded Idaho as our first test. Took a couple of tries before we got the depth exactly right. |
| SUCCESS!! The t-molding looks sweet as hell even just on a scrap piece of wood. |
 |
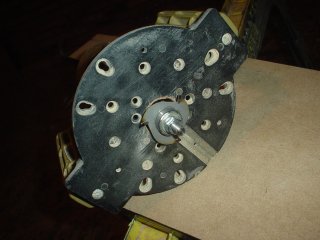 |
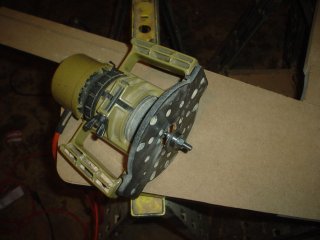
Word of advice... check which way your router spins before attaching the blade. Smoke poured out of the wood when
we did our first route becuase we had it on backwards. See how the blades of this brand new router blade are burnt? Oops =) |
| This router worked really well. Probably took 5 minutes to route all the pieces of wood that we needed to. |
 |
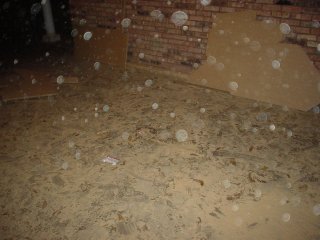 |
The floor (and everything else) is covered in sawdust. |
| Is that a clean spot? |
 |
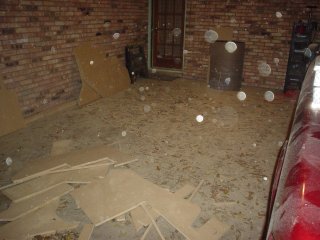 |
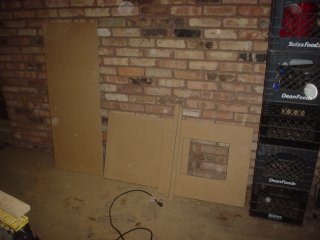
This is the end of day 1. We have all of the pieces cut and everything routed that should be. We also sanded the
edges of all pieces that we cut. |
| Still really proud of the slot cutting =) |
 |