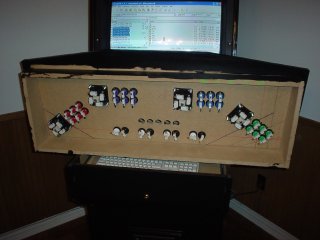
| Control Panel Wiring | |
| I'm gonna die waiting for the keyboard controller. That and the software are the only two things I
have to have before being able to play on my new cabinet! |
 |
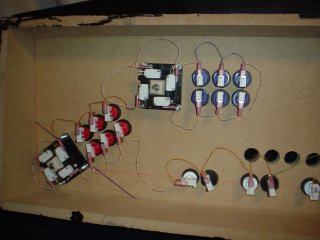 |
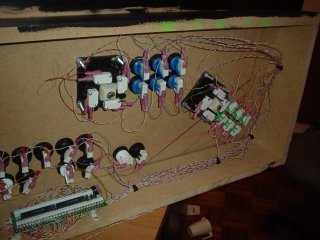
I've started wiring the ground on the buttons (in series) with CAT5. Being a network engineer, I use CAT5
everyday and thought it would be a cool personal touch. I saw that other people had used it, so I'm not too worried about
it, but I guess we'll know once the IPAC gets here =) |
| The IPAC4 from UltiMarc that I'm using has two grounds so I ran the buttons on the left side to one ground and
the right side to another. Shown here as a green and an orange wire. I also bought stand offs to hold the encoder off of the
wood. |
 |
 |
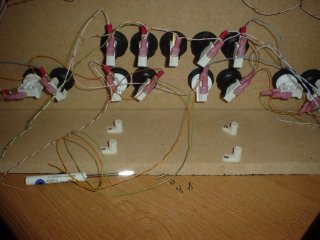
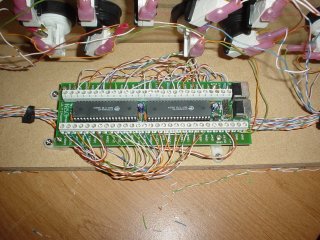
Hurray! It finally arrived! I mounted it to the inside, back wall of the control panel. This is closest to the
USB jack that I'm using and is a central location for all the wires from the switches. |
| Here you can see how I ran the CAT5 along the inside wall, held together with wire ties. |
 |
 |
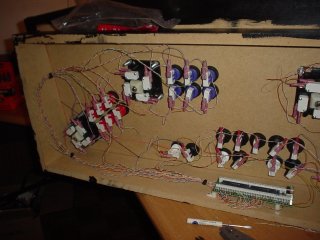
The other side. I considered using wire staples to hold the wires in place, but that's a little permanent just yet.
|
| This is the view of the final encoder with wires. The wires go under the encoder from each side and the come up
for a clean look. You can see the two PS/2 ports on the right. One for the keyboard as a passthru and one for the cable to the
computer. |
 |