| Control Panel Building | |
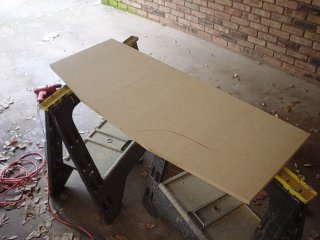 |
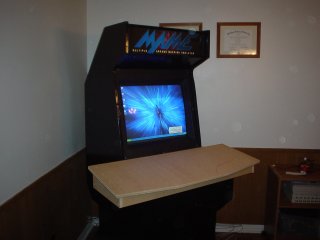
Control Panel time!! This will be the control panel top, where all of the buttons and joysticks go. |
| The entire control panel is really just 5 pieces of wood. The top, two sides, front and back. The front height
and the back height (of the sides) are 2 inches apart to give it a nice slant. Pretty simple. |
 |
 |
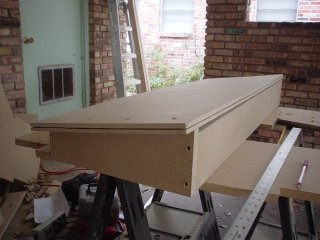
Since the top is not hinged (sorry Onji) I left the bottom open. It's really not as heavy as I expected, and I like
the ability to flip it over to mount the keyboard controller and wire the buttons. |
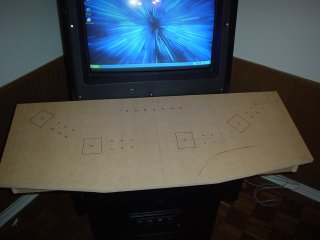
| The front of the top is angular to give it a better feel for players 3 and 4 |
 |
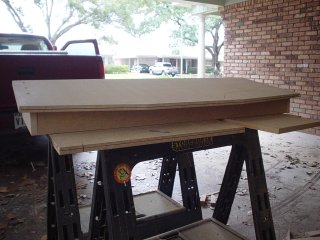 |
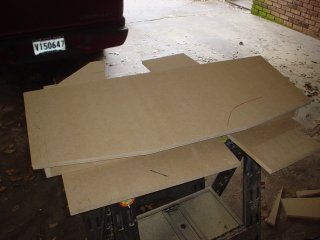
It's shorter than I thought it would be... but sweet none the less. |
| I couldn't believe how perfect the fit was. Because I made the length of the base the same as the length between
the bezel and the front of the keyboard drawer, it will be flush when finished. |
 |
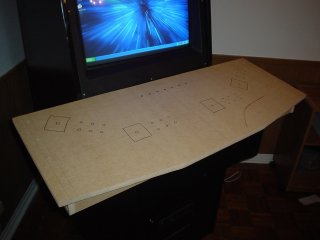 |
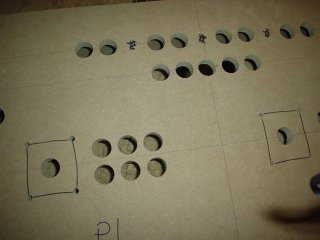
On Onji's suggestion, I printed out four of the joystick/button templates that are on the web and taped them to
the control panel, measuring everything very carefully, then nailed a little mark at the center of each button and joystick. |
| Also, since I don't want to be able to see the carriage bolts that hold the joysticks, I made marks for those
as well, so I can countersink the bolts. |
 |
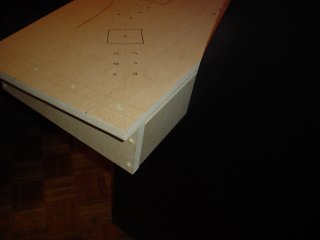 |
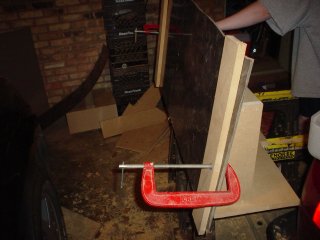
I will attach the control panel to the cabinet here using some type of clasp. |
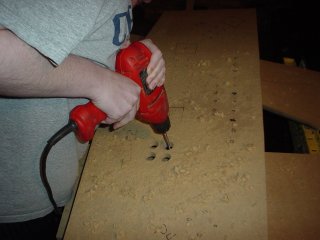
| I finally got my wife to help! =) Using a 1-1/8" spade bit, she cut out all button holes, and joystick holes. |
 |
 |
Finished with the spade bit. |
| I used a 5/16" spade bit for the carriage bolt holes. |
 |
 |
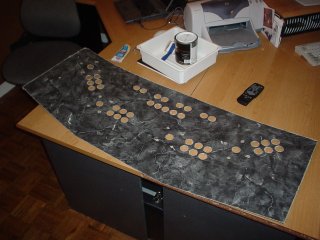
The formica was a pain in the butt, plain and simple, but here's the process I used after a little bit of
trial and error. Basically, after drilling all of the holes in the MDF, I held the formica, roughly cut the same size
of the control panel. Then from the back of the CP, I drilled a single hole through the formica at each button hole, then
used the router to route out the holes. Worked great, and no chips! |
| I also routed along the outside of the control panel to give the formica it's final shape. |
 |