| Building | |
 |
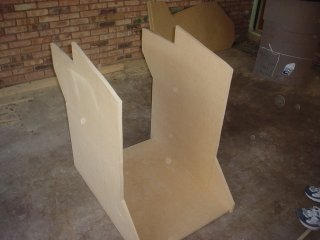
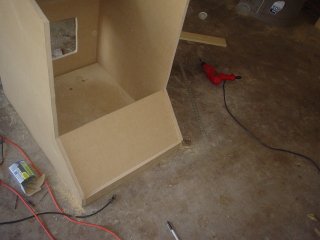
Our first attached pieces. As well as the first countersunk screw I've ever done. Too easy. Also learned very
quickly that you HAVE to drill pilot holes in the wood or they will crack. The screw holes in the bottom piece are all cracked
because we thought we could save time. Nope. |
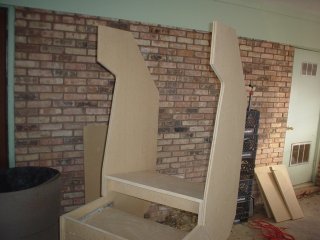
| Sides. |
 |
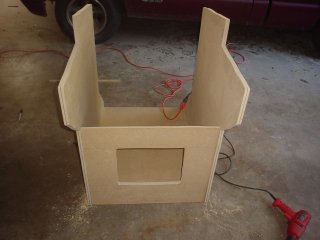 |
Sides with the coin door |
| This will be the piece of wood that the drawer will lock into. This is the only piece that I used the Dremel on. |
 |
 |
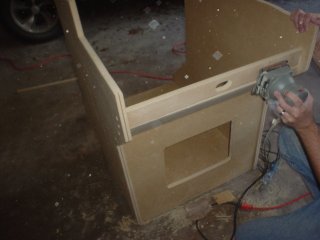
I have a new respect for drawers. What a pain in the butt. We finally got it right, but it took more time than
expected. |
| Shot of the finalized drawer. |
 |
 |
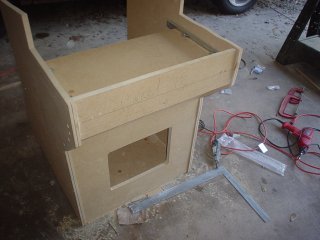
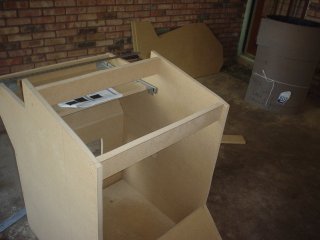
Attaching the bottom piece was pretty easy. |
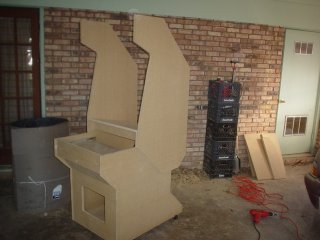
| As simple as they look, and as easy as they were to put on, these two pieces of wood really stabilize the cabinet
and make it feel more like furniture than just pieces of wood screwed together. |
 |
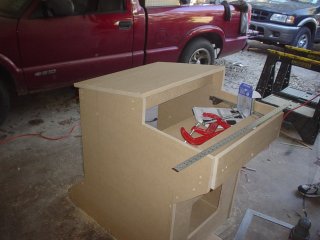 |
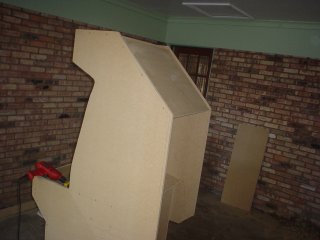
Attached the monitor shelf and we are now using the drawer as our workbench =) |
| After taking everything off of our new drawer workbench yet again, we layed the cabinet on it's side to attach
the top. Up until this point, I thought the top just sat on the bottom half, but Onji set me straight. |
 |
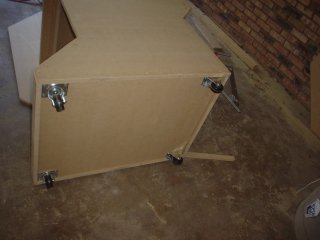 |
We decided to go ahead and put the casters on while it was on it's side. The two casters in the back swivel while
the two in the front are static. I thought it was normal to put the swivels in the front (like a shopping cart) but Onji thought
it might increase the chance of the cabinet moving when you get too excited playing Mortal Kombat. |
| Ready for the other side. |
 |
 |
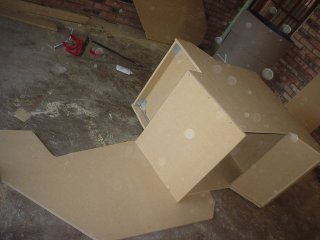
Success! |
| It's starting to sink in that *I* actually have an arcade cabinet in my house. |
 |
 |
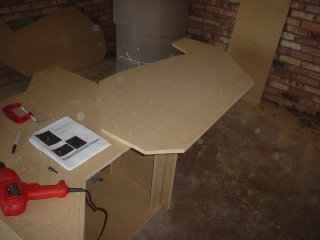
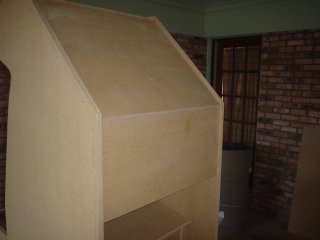
Top. |
| I accidentally left about a half inch gap between the top and the back. Gotta remember not to do that on the
next cabinet I build. You can't tell, but I may have to go back and fill it in later. |
 |
 |
The back was pretty easy. Not much to it. |